New Lightroom workflow for improved high frame rate bird photography

Lightroom is a wonderful product, and I am wedded to it, but it does not provide a complete environment for post processing of high frame rate bird photography. In this post I describe a new workflow to address this special requirement, which reverses the normal direction.
High frame rate bird photography
What do I mean by high frame rate? Well in a recent post I described how using the Olympus EM1x I took 4382 shots of Gannets landing in 61 minutes, of which 3325 (76%) were in focus and 398 (12%) of those were exceptional shots which captured the perfect moment. Over two days( but still under 3 hours of shooting) I got 11,400 images of which around 800 were of landing events.
This level of keeper rate brought its own problems. What do you do if you have 800 incredible images? In my case I had great difficulty in deciding which ones to keep or which ones to drop, and I realised I would need to process at least 200 of them before I could judge the best of the best. This was now wedding photographer territory in terms of the image volume but with the added requirements of specialised bird photography post processing.
What’s wrong with Lightroom?
Lightroom has many great qualities, but it is a generalist app. Bird photography has some special requirements for post processing that Lightroom is not the industry leader in. Firstly, there is a need for high speed culling of images, based on their fine detail. Secondly, as shutter speeds have to be high (and I live in the UK) high ISO noise reduction is almost always required. Thirdly, bird images require subtle levels of sharpening, at different levels for the wings as opposed to the eyes and beak for example. Finally, as cropping is almost always involved, some level of resizing is needed also.
Lightroom is behind the leaders in all of these areas, and only has only rudimentary batch capability. What Lightroom is superb at, is managing a workflow, cataloguing, and adding metadata to images. So the solution is to either leave Lightroom completely behind, or use it in conjunction with other more specialized packages.
Lightroom alternatives
My requirement for offloading the work to specialised packages is that they must be industry leaders, and also offer batch processing. Lets look at each of these in turn.
Image culling
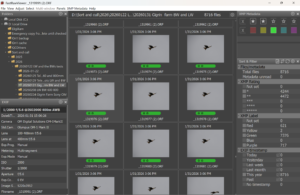
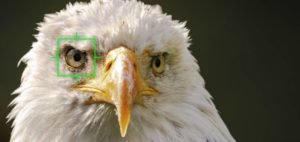
The industry leaders here are Photo mechanic, Lightroom itself, and FastRawViewer. Lightroom requires a very time consuming import of photos, 95% of which will then be discarded, and is dismally slow once they are imported. Many bird photographers swear by Photo mechanic, but I am not a fan. It’s fast, but also very expensive, and only looks at the embedded JPG, so does not have all the Raw information and detail for culling that is needed for bird images. On the other hand FastRawViewer is astonishingly good. The image viewed is the true Raw file, and superfast exposure adjustments can be made via keyboard shortcuts. It has sophisticated focus peaking tools and can instantly zoom in on the image.
Best of all, it has powerful tagging features, and files can then be selected and moved or copied based on their tags. This makes culling an absolute breeze. And it’s also very good value, so FastRawViewer is my choice.
Noise reduction
The leaders are Topaz Denoise AI, DxO Photolab Deep Prime, On1 PhotoRaw NoNoise, and the Olympus workspace package in it’s latest version. All are effective, but only DxO Photolab offers the ability to process 200+ images flawlessly without user intervention. An added bonus is that the images seem to take only 5-10 seconds each to process, so 200 are done in 10 minutes or so. Topaz however has an abysmal batch process that fails with more than 15 or so images, and takes up to 45 second per image, making the whole process unreliable and interminable. So the choice has to be DxO photolab, which also has the benefit also of the best batch optical correction in the industry.
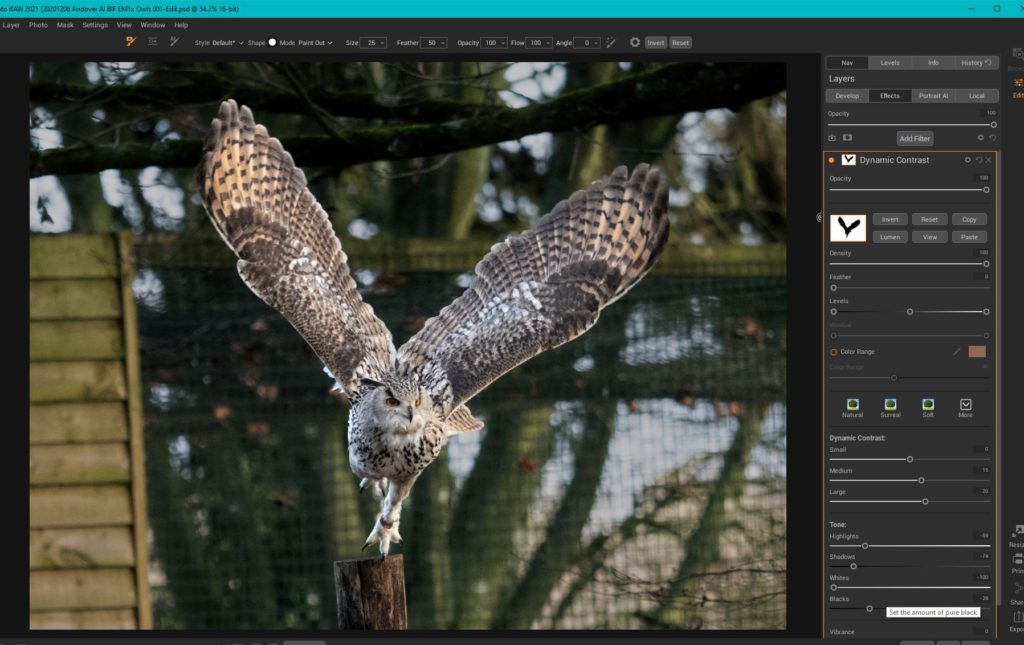
It should be noted that On1 PhotoRaw can be used to carry out noise reduction across many images, but it is not obvious how to achieve this. The way to use it is to apply On1 NoNoise processing on a single image in the develop module. Then in the browse module, select all the other images to be processed, and right click to sync the NoNoise settings across all the images you have selected as shown in this video. This method can be used to give an initial dynamic contrast treatment to all the selected images (see below) also. The great benefit of On1 is that sharpening, noise reduction and resizing as well as format conversion can all be done in a single export process across multiple images, which provides a very powerful batch capability.
Sharpening
The leaders are Topaz Sharpen AI, On1 PhotoRaw Dynamic Contrast, DxO Photolab and Lightroom itself. Sharpening in bird photography is a delicate area. It’s very tempting to over sharpen bird photographs but then they look unnatural and aficionados recoil at such images. Moreover images can come out of the the denoising process already heavily sharpened, and exporting to JPG sharpens yet again. My preferred method is to keep sharpening minimal in areas of fine detail, but to apply some increased contrast to areas of large structure like the wingspan. This can reveal the overall structure of the wings without making the image too “crunchy”.
Topaz Sharpen, Lightroom and many other sharpening modules take a broad brush approach that results in a uniformly sharpened image, and often too much sharpening in areas of fine detail. Only Dxo and On1 provide the ability to apply contrast/sharpening differentially depending on the structure size. Of these On1 is far and away the best, with it’s dynamic contrast filter providing sliders for fine, medium and large detail. Medium and large detail works perfectly on wing structures, without making the head and body of the bird appear overly crunchy.
The synchronisation capability of On1 allows a standard level of dynamic contrast to be applied to every image, but then the very sophisticated masking capabilities of the product allow the fine sharpening to be dialled back individually in the body and applied only the eyes and beak. My choice here is On1 Dynamic Contrast.
Upsizing
It’s difficult to get a bird in flight filling the frame of an image without clipping some part of the wing, so shooting smaller and cropping is almost always involved. My approach is to always resize the image (whatever the crop level) to a sensible but modest size of 24Mpx, or 6000×4000 pixels, so that printing or display at large sizes is possible no matter what crop (within reason) was used. The main contenders for this are Topaz AI resize, and On1 Resize. Topaz once again has batch issues, whereas ON1 (which invented fractal resizing technology) has excellent batch resizing included in the image export process. My choice is On1 Resize
The workflow
The typical workflow when using Lightroom plus additional packages, is to import the culled images to Lightroom, and then pass each image to successive plugins for additional work, like sharpening and denoising. This just drives me crazy when handling 200 images, and is borderline impossible. After doing this for a while, I realized that the process was back to front. Instead of starting in Lightroom, it’s best to end in Lightroom.
My new process is as follows
- Cull in FastRawViewer on a fast portable laptop, and export the culled camera Raw files to a fast NVME drive. I usually do this on location.
- Back at home, store the culled images in a scratch drive on my main high performance machine and import these directly into DxO for batch denoise and optical processing (with no other changes) while keeping a copy of the original Raw files.
- Export processed images from DxO as DNG Raw files to a the scratch disk with a filename suffix of “denoise”
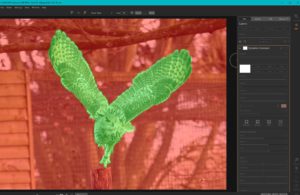
- Import DNG denoised files to On1 PhotoRaw, and then batch apply tonal changes and dynamic contrast to all images using the synchronise tool. Then individually remove distractions (for which it is as good as Photoshop), locally mask for reduced/increased sharpness if needed, and carry out a second cull.
- Batch export the culled images from On1 as Tiff files to the scratch disk alongside the original raw files, and in the process apply resizing to 24 Mpx.
- Finally, import the Tiff files and original Raw files to Lightroom and run through my standard metadata workflow, do a final cull, tag the keepers to match their Raw original, export if needed to jpg, and mark as completed.
The benefits of this process are:
- The images are kept as Raw for as long as possible, as opposed to being pinged in and out of Lightroom as Tiffs in the normal process. Only in the final import to Lightroom are the finished images converted to TIFF and even then DNG can be used if desired.
- Batch processing is applied at all key stages in the most efficient way possible.
- The special needs of bird images are particularly well covered.
The downside is that the Raw processor in ON1 is not quite as good as that of Lightroom. But since the heart of the process is the denoising, I am prepared to make that minor sacrifice. Also, by staying in DNG for the whole process, the Lightroom raw processor can still be used at the end to make final tonal adjustments.
Below is a schematic of the process, showing how I recently used it to get from 11,400 images to 30. Use the Zoom controls to resize the diagram and your mouse to move it around.
File-process-for-PP-2-1