Taking and processing interesting* seascapes

In March 2024 I returned to our place in Noordhoek, Cape Town for the first time since 2019. Circumstances like Covid and grandchildren had kept us away, and my main intention was to start the process of selling it. As it turned out, I fell in love with this incredibly beautiful and civilised area and its wonderful seascapes all over again, so we’ll keep the house for a little while yet.
One of my other goals for the trip was to revisit the area and take some definitive shots of the sea, birds and people in case we didn’t come back. Over the 22 years we have owned this house, I have taken many shots, but only a very few that I really liked. That was partly because of time – kids, social engagements, and the many things you have to do after a long time away, take your focus off photography – but also because pre-COVID, cameras, software, and my technique were not as advanced as they are now.
For seascapes and landscapes, the advances have mostly been in the field of post-processing, where the latest software allows complex images to be produced far more readily and at a far higher quality than before. On the other hand, while great strides have been made overall, camera technology for this kind of shot hasn’t really advanced materially. This is not true for bird photography, as you will see in this album and this post. The seascapes photos from my Cape Town trip are shown in this album, and this one. In this post I describe my 2024 approach and the technology and techniques I use for seascape photography. Note, the images below are best viewed in full screen – just click the small image to enlarge, and click the little “x” to minimise again.
Long exposure for seascapes
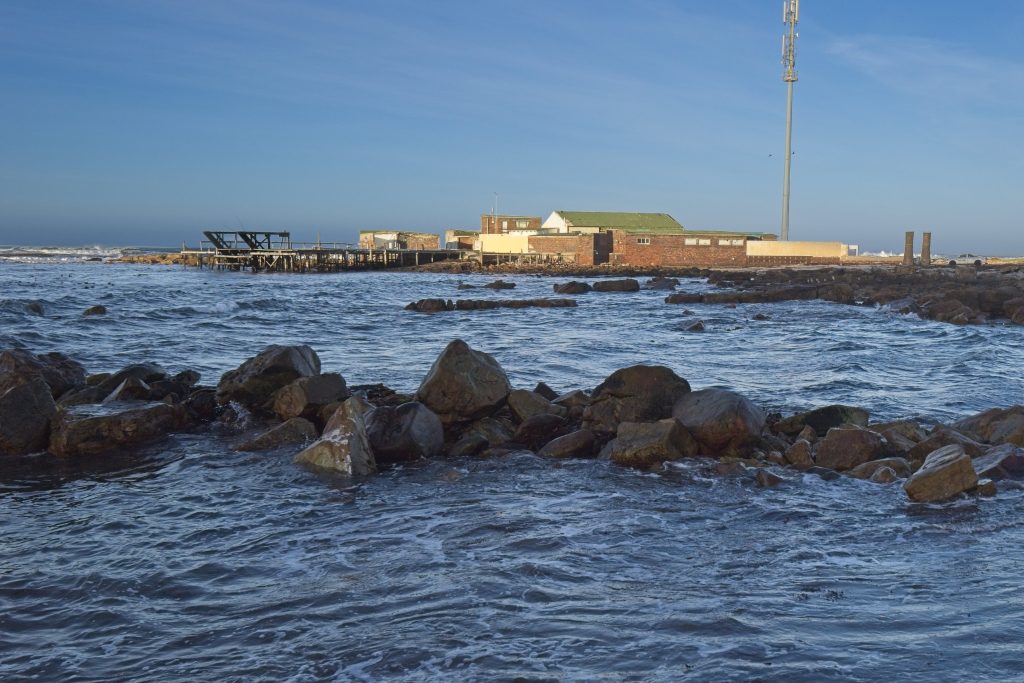
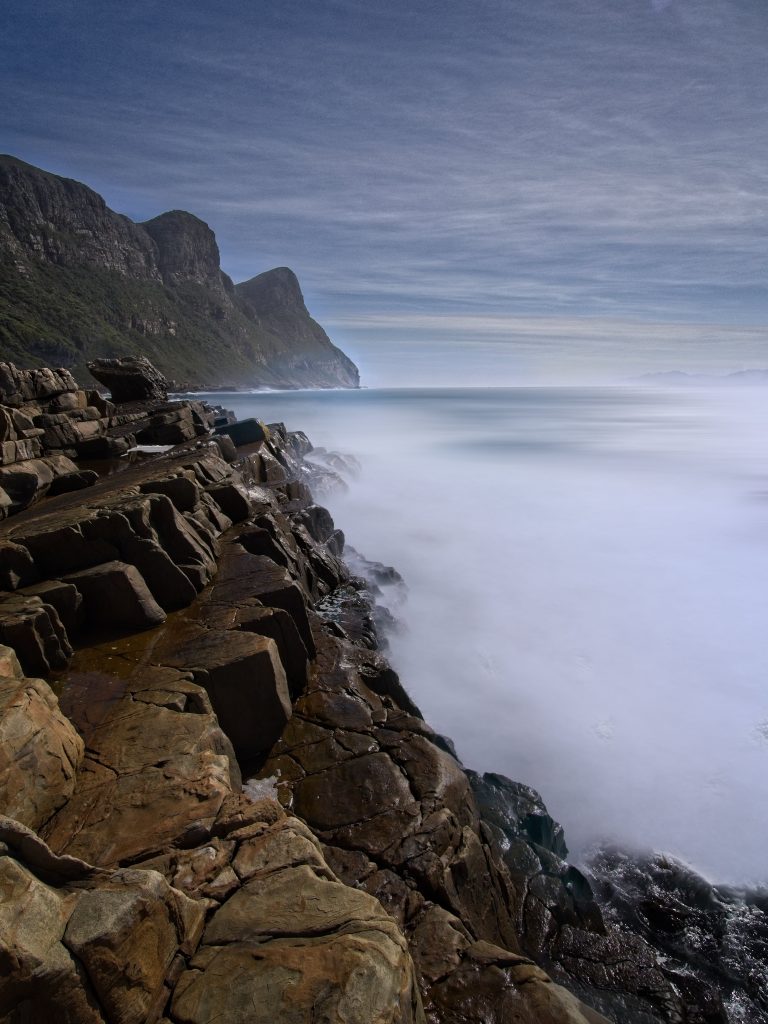
The eye is naturally drawn to detail, and although you don’t register it when at the seaside, the sea in a normal photograph contains an incredible amount of fine detail. This draws the eye away from the intended composition. Click on the image to the left and see for yourself. The foreground subject is supposed to be the line of rocks, and the background is the pier. But where does your eye go?
Long exposure (LE) shots, particularly over minutes rather than seconds, can simplify the scene, and clarify what you want the viewer to see. It’s still the sea, but the clutter is removed, and the image is much simpler. When standing at a seascape and looking in 3D, the eye and brain are superb at simplifying the image for you, eliminating peripheral and extraneous detail. But the photo is a dumb 2D object, and everything your brain screened out is now shown in fastidious detail. That’s why the art in photography (and painting) is in what you leave out – how you simplify the scene to get back to what your eyes and brain saw on the day. Long exposure is a very handy tool for simplification of seascape images.
Seascapes with time blending
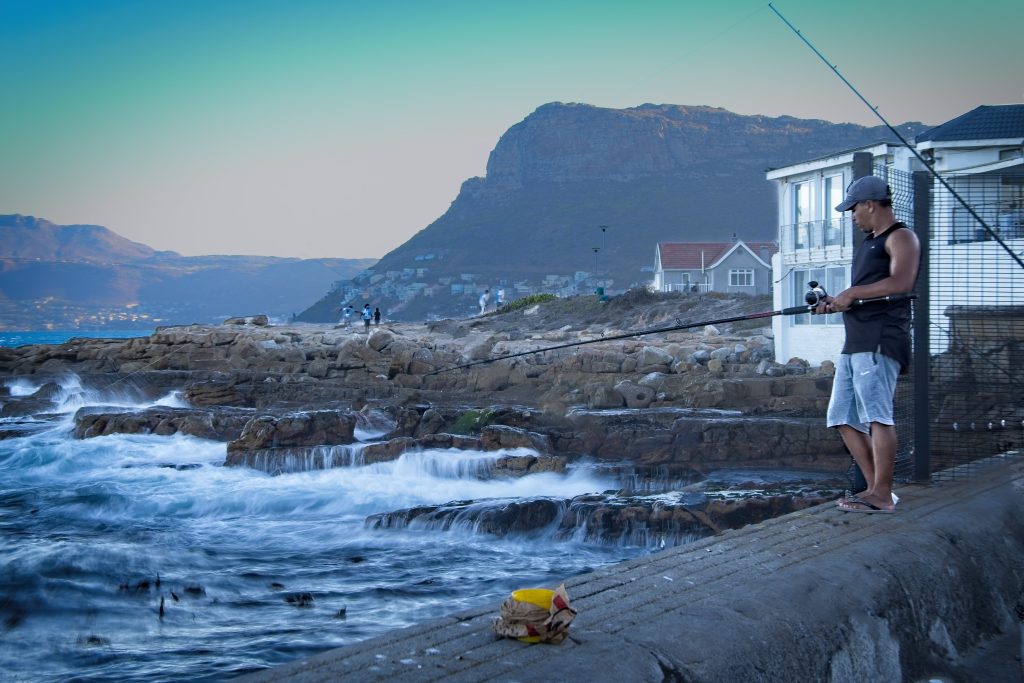
In most LE photos you may see on the Internet or in galleries, the photographer either avoids moving items or allows them to be blurred. Following on from my Cambodian seascapes, many of the LE photographs in this album feature some kind of frozen movement (using a fast shutter speed), as well as slowed-down water (using a slow shutter speed). Examples are a crisp bird in flight, a boat in the water, or an unblurred person such as the fisherman in the image to the left. Although it’s more difficult to achieve this effect, I much prefer it to blurred objects in the frame. It’s just another version of reality – in these time-blended photos there are no fake skies, fake birds or fake anything else – everything in the image took place right there – just not always at the same time.
Starting at the end
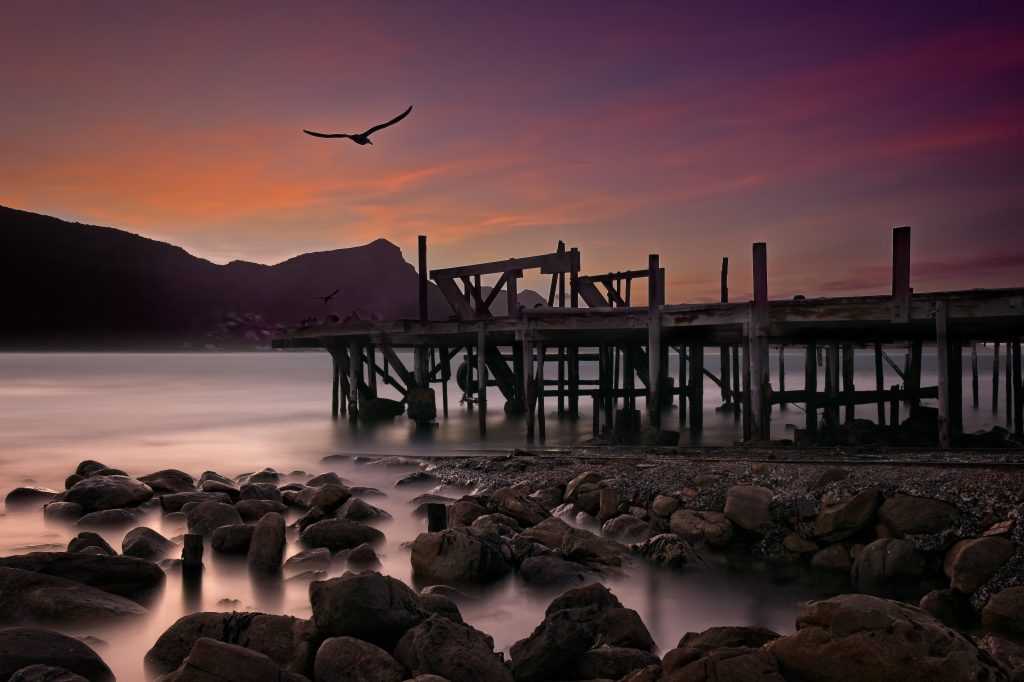
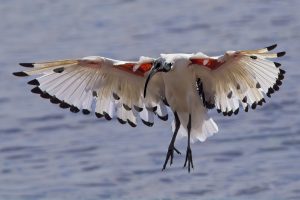
One of the main advances in my landscape and seascape technique this year is that I now look at the scene from the perspective of post-processing as well as what is immediately before me. Specifically, I now know that I will be using 2-3 images to make up the final photograph. The judgement, and possibly the art, is in knowing how to choose those component images so they fit together, and which component takes which role so the final image reproduces the feeling of the scene. In some of the shots in this collection, like the one on the right, I have taken 30-50 shots, to get just the single shot of a bird flying through at the right angle, the right location and the right time. The skill that I have developed, to the extent there is one, is making the joins between these different moments in time invisible.
Seascape exposure times
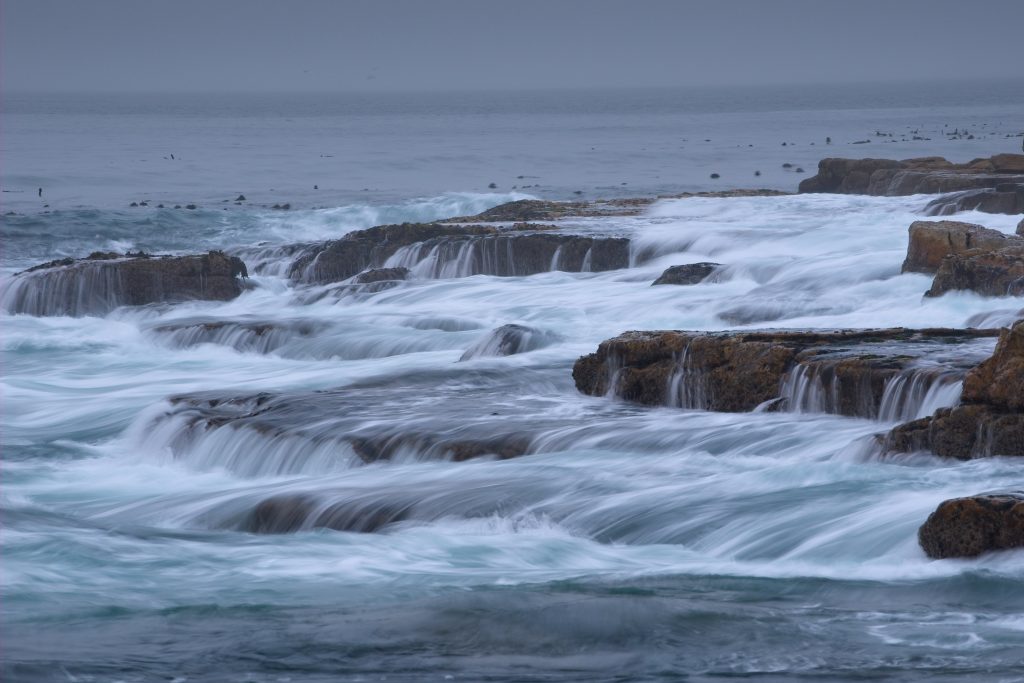
I have used three kinds of seascape shutter time for long exposures in the album. The first is what you might call a very long exposure of around two minutes, giving a misty look to the water, particularly in high seas . It is best for situations where you don’t want the sea to be the main subject. This is technically tricky because you need to put “sunglasses” or tinted glass over the lens to let in less light. You also need a very steady tripod (often balanced precariously on wet rocks at the edge of the water) and are at the mercy of high winds, which can shake the lens, blurring the rocks as well as the water. This means that long focal lengths, because of the optical lever effect, are extremely difficult in windy areas, like the Cape. A further problem is sea spray which often means your lens, which may have been completely clear at the start, is covered in sea spray after two minutes.
And of course, there is the problem of losing all your bl**dy filters into the foaming briny. The latter issue is now solved by the way, by a groundbreaking new method, which while extremely effective, requires the photographer to overcome the embarrassment of looking like a complete tw*t (except to other photographers). All will be explained in a future post.
The second shutter time for a seascape photo is what you might call “short” long exposures. These are around one-fifth of a second, which still often requires a little bit of tinted glass to cut the light down. This gives you lines or streaks rather than mist in the water and is great for when the sea is the main subject of the photo. If you have people in shot, they can often stay still for this length of time, as in the first inset image above, which is of the same rocks as shown on the left.
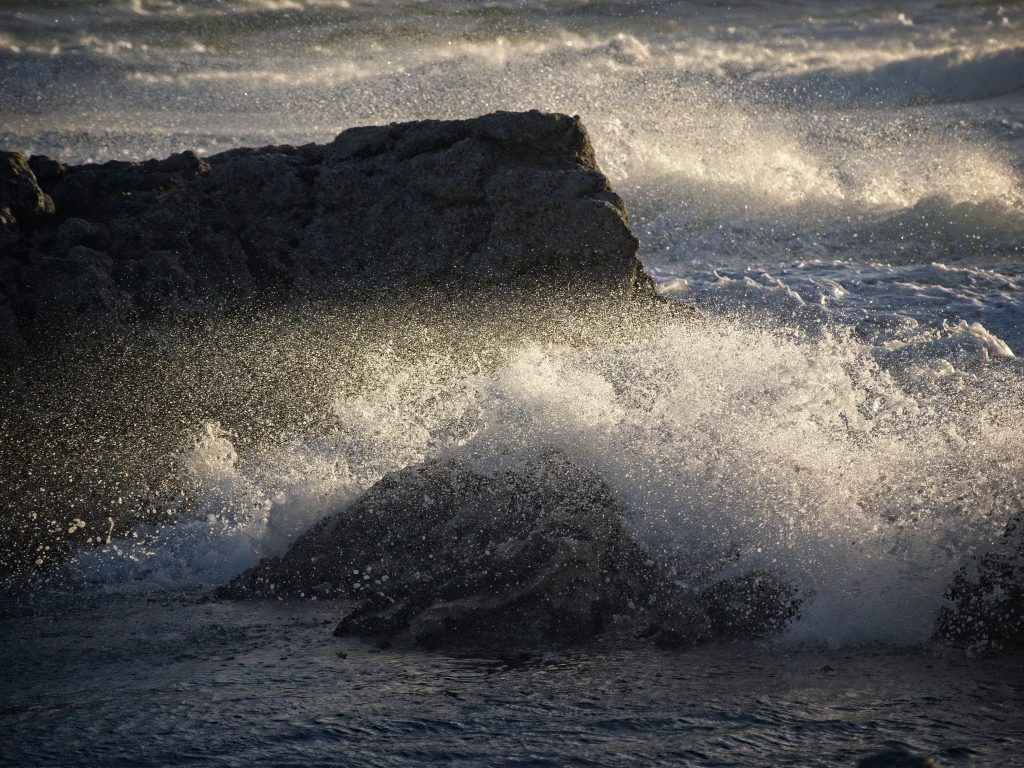
The final seascape shutter time is quite the opposite of long exposure. On a massively rough day at the “hoek” (corner) of Noordhoek beach, the wind was so severe I could barely stand up, and even a short focal length was giving blurred long exposure shots in the wind. So I went to the opposite extreme and took hundreds of images at the fastest speed the camera could take, 1/8000 of a second. This style captures every drop and demands a long focal length to see the detail. It gives a real feeling of the awesome power of the ocean, and can create some arresting images. As these images are single shots, with no time blending, many would call them more authentic than complex multi-image 2-minute exposure time blends. I would disagree. The eye (and brain) is just as incapable of seeing what’s happening at 1/8000 of a second, as it is at 2 minutes. In both cases, a bit of skill, a bit of art, and a bit of technology can reveal to the viewer what they would not have seen even if they were there at that precise moment.
Post-processing software
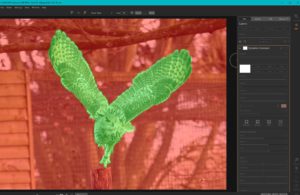
Post-processing (PP) is the term used for the work done on an image after it is taken. On your smartphone, the post-processing is done automatically and all the decisions are made for you. What you see is a finished file usually in a format called jpg. In modern high-end digital cameras, decisions on how to process the photograph are left to the photographer. The start point is a large digital file containing the raw image information, called the RAW file which is then processed in specialist PP software. This software has exploded in capability in the post-COVID years and can now significantly refine and extend the capabilities of digital cameras. This is almost entirely due to the introduction of neural network technology, slightly misleadingly called “AI” technology by many software vendors. This technology can recognise objects and patterns as well or sometimes better than a human, replicating what happens in a smartphone but with much greater power and capability. The software I use is Photo Raw 2024 from the On1 corporation . In a separate post, I will explain why I recently moved completely from the 900lb gorillas in the market, Adobe Corporation’s Photoshop and Lightroom to On1 Photo Raw.
What is done in post-processing?
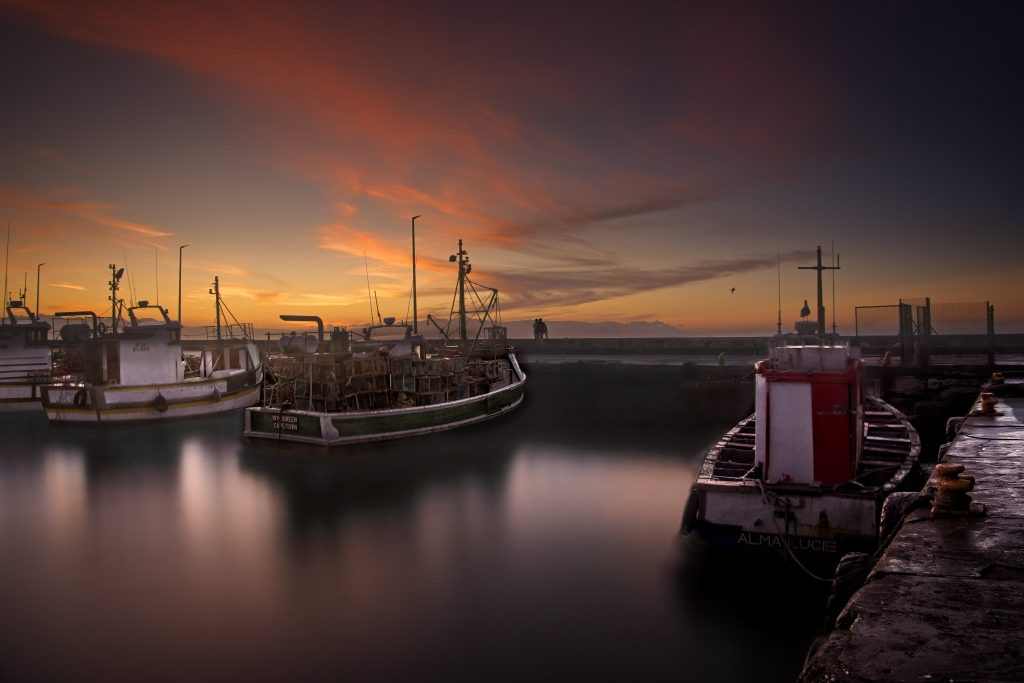
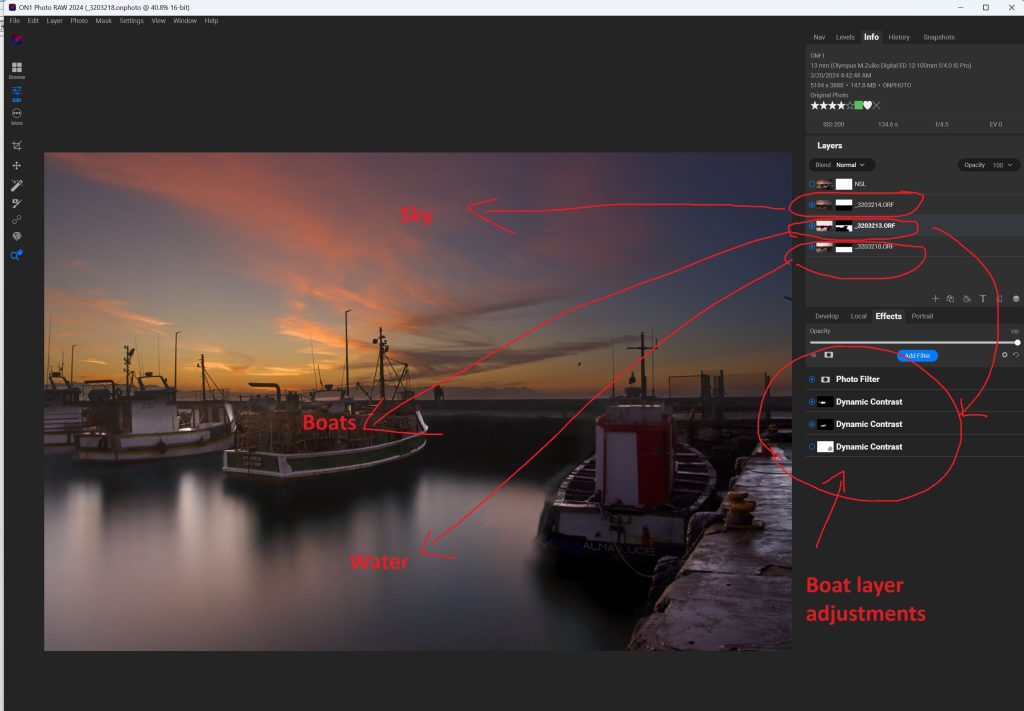
The best way of explaining this is to show an example. The photo on the right is one of the more complex images from the trip. The scene was a fishing harbour at sunrise. Three photos make up the final image. The first was exposed for the sky (which made the boats very dark). The second was exposed for the boats (which made the sky too bright and the water too detailed) and the third was a 2 minute long exposure for the water (which blurred the boats and the sky). The art is being able to seamlessly blend all three images so the viewer cannot see the joins, and the whole piece is harmonious. Click on the image to see for yourself. Note: the light band just above the pier is not a join – that was there in the original scene.
Now here is that image in On1 Photo Raw. You will need to click on the image to see it at full size. The three images are the “layers” at the top right, and you can see their contribution in the main panel in the middle. The parts of the image that are not used, e.g. the boats and water from the image of the sky are “masked” out. Then each individual layer is worked on with further adjustment layers to increase or reduce the contrast, colour or exposure. This image has around 20 image and adjustment layers and took a full day to complete.
The camera system
For this type of photograph, it almost doesn’t matter what camera is used for long exposure shots. I used an Olympus OM1 on this trip because the Olympus system is extremely versatile, small, and lightweight. There is no other single camera IMHO that is as portable, rugged, and as good for street, birds in flight, and LE as this little gem. For long-exposure seascapes it has a huge advantage over full-frame cameras, in that you can watch the image develop as it is being taken. This post tells you why that is such an advantage and also describes my whole long exposure approach in detail. The lenses I used can be seen for each shot by clicking the “I” button when looking at the albums. They were the 8-16mm (=16-36mm full frame equivalent) f2.8-4 Leica-Panasonic wide zoom, and the 12-100 (=124-200 mm full frame equivalent) f4 Olympus Pro zoom.
*SEO
By the way – the fact that “interesting” appears in the title is because words like this apparently help Search Engine Optimisation (SEO). Having gone to the trouble of writing a post, you want it to be seen by Google search users. This is the malarkey required to improve your SEO score ( 85 points for this post!!!).
